How to Turn a Sketch into a Render, Step by Step
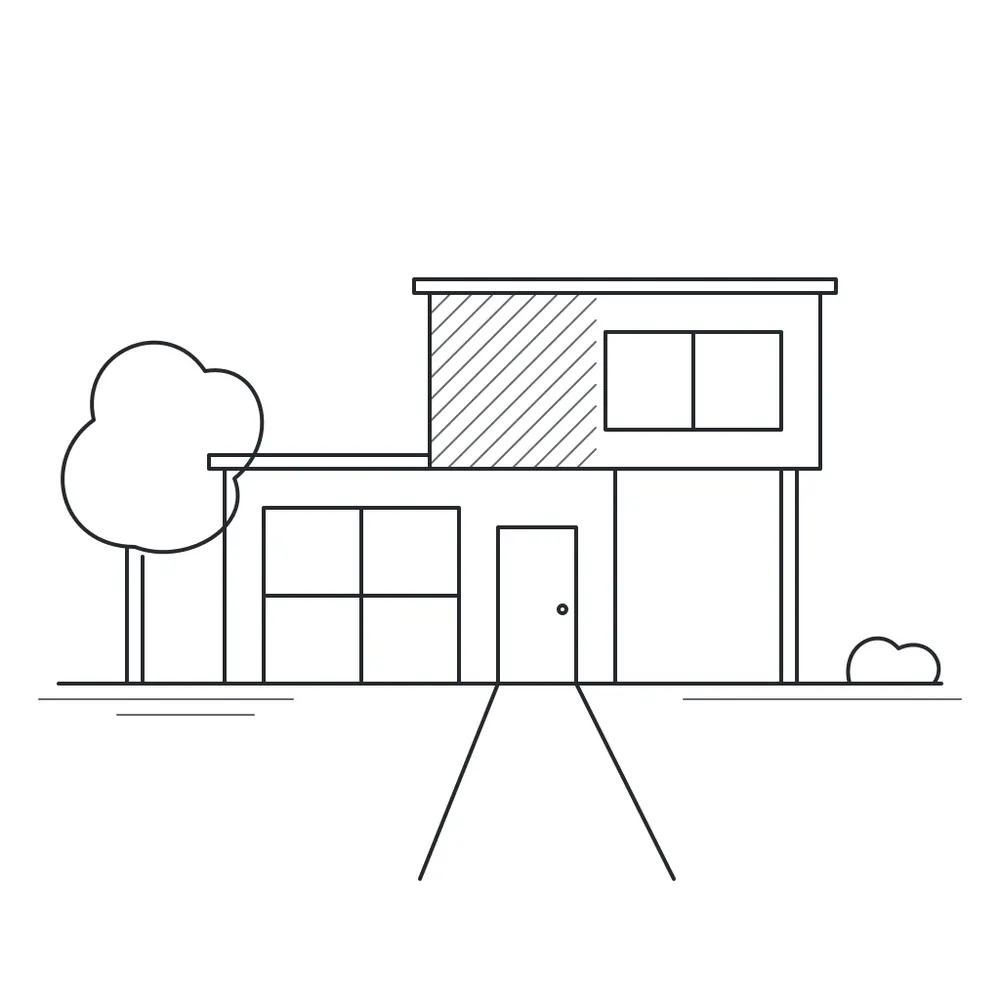
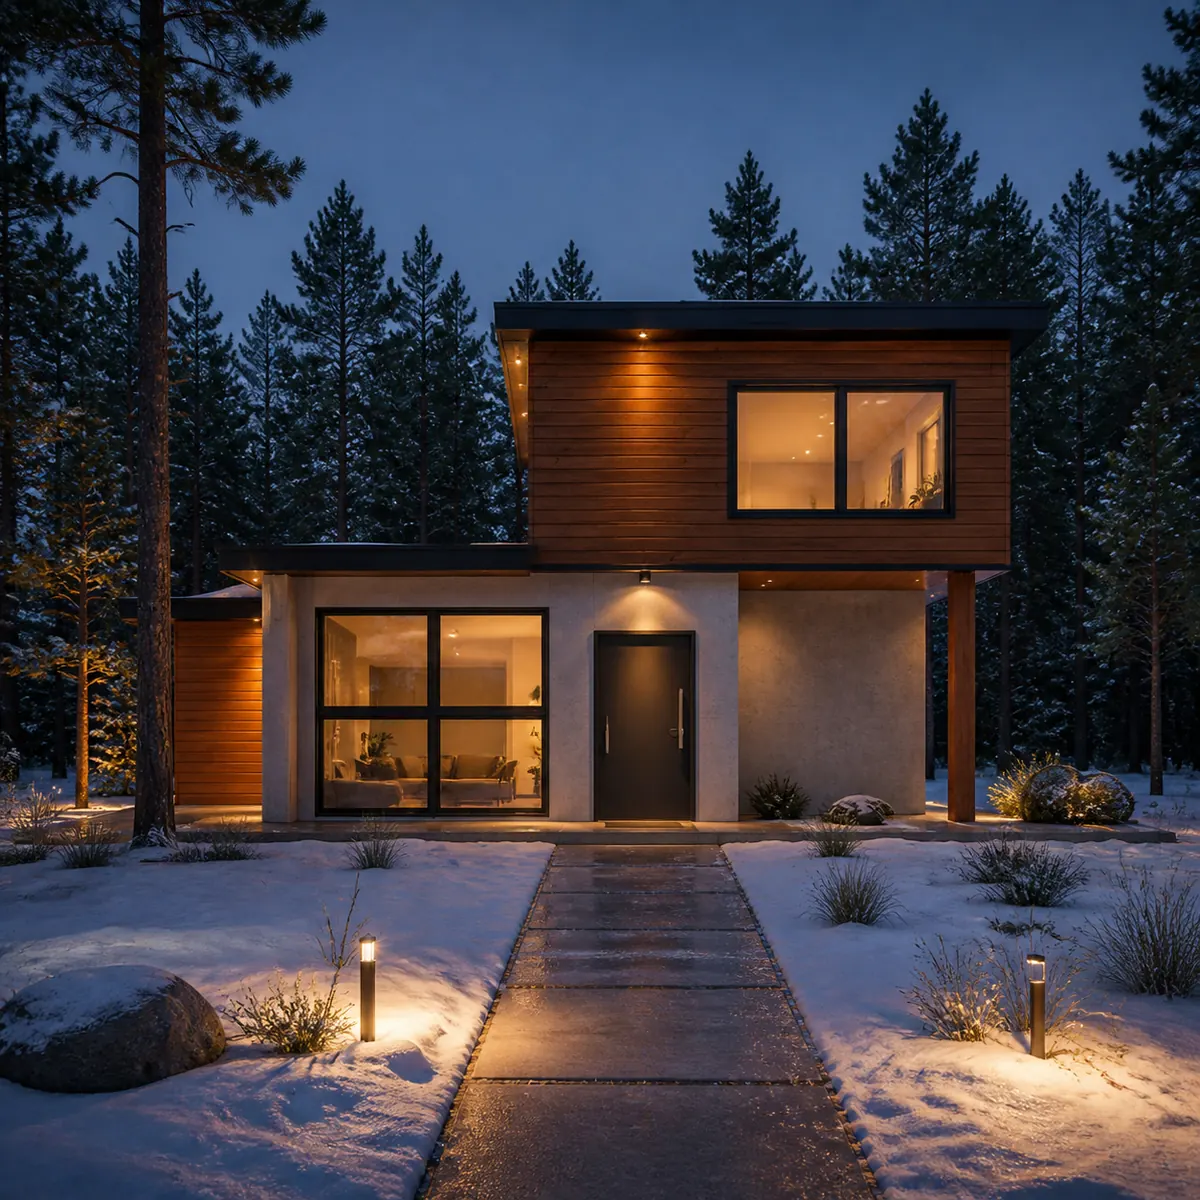
Everything below happens in the studio, in your browser, on a computer or a phone. The pictures are real: our sample house sketch and the renders Inkfinish made from it.
1
Add what you have
Start with an image that already fixes the design: a photo of a pencil sketch, a screenshot of a 3D model, or a photo of the real thing. PNG, JPEG or WebP, up to 10 MB. You can also add the 3D model itself (GLB, OBJ, FBX, STL, 3MF or DAE), turn it to the view you want, and render that view. No image? You can start from a description alone, or pick one of our sample sketches.
What the animation shows
- The upload area is empty.
- A photo of a pencil house sketch drops in and fills it.
- Beside it, the other kinds of input: a model screenshot and a photo of a room.
2
Say what you want
Describe the finish in plain words: materials, light, setting. You do not need to describe the shapes; the image already does. Idea chips add common phrases, and in the studio a new design's first message may get a quick question or two, such as what light you want, answered with one click. The subject (building, interior, product, vehicle, landscape) is chosen for you unless you pick one.
What the animation shows
- The description field types: “Cedar cladding and pale concrete, large glass”.
- The “Night, lights on inside” idea chip is pressed and its words are added.
- The subject resolves to Building exterior.
3
Get the render
5 credits
Press Render. A render usually takes about 20 seconds. When it arrives, drag the handle across it to compare it with your sketch.
What the animation shows
- The Render button is pressed and a progress bar fills.
- The render appears over the sketch, wiping in from left to right.
- A handle sweeps across, showing the sketch on one side and the render on the other.
4
Check what it kept
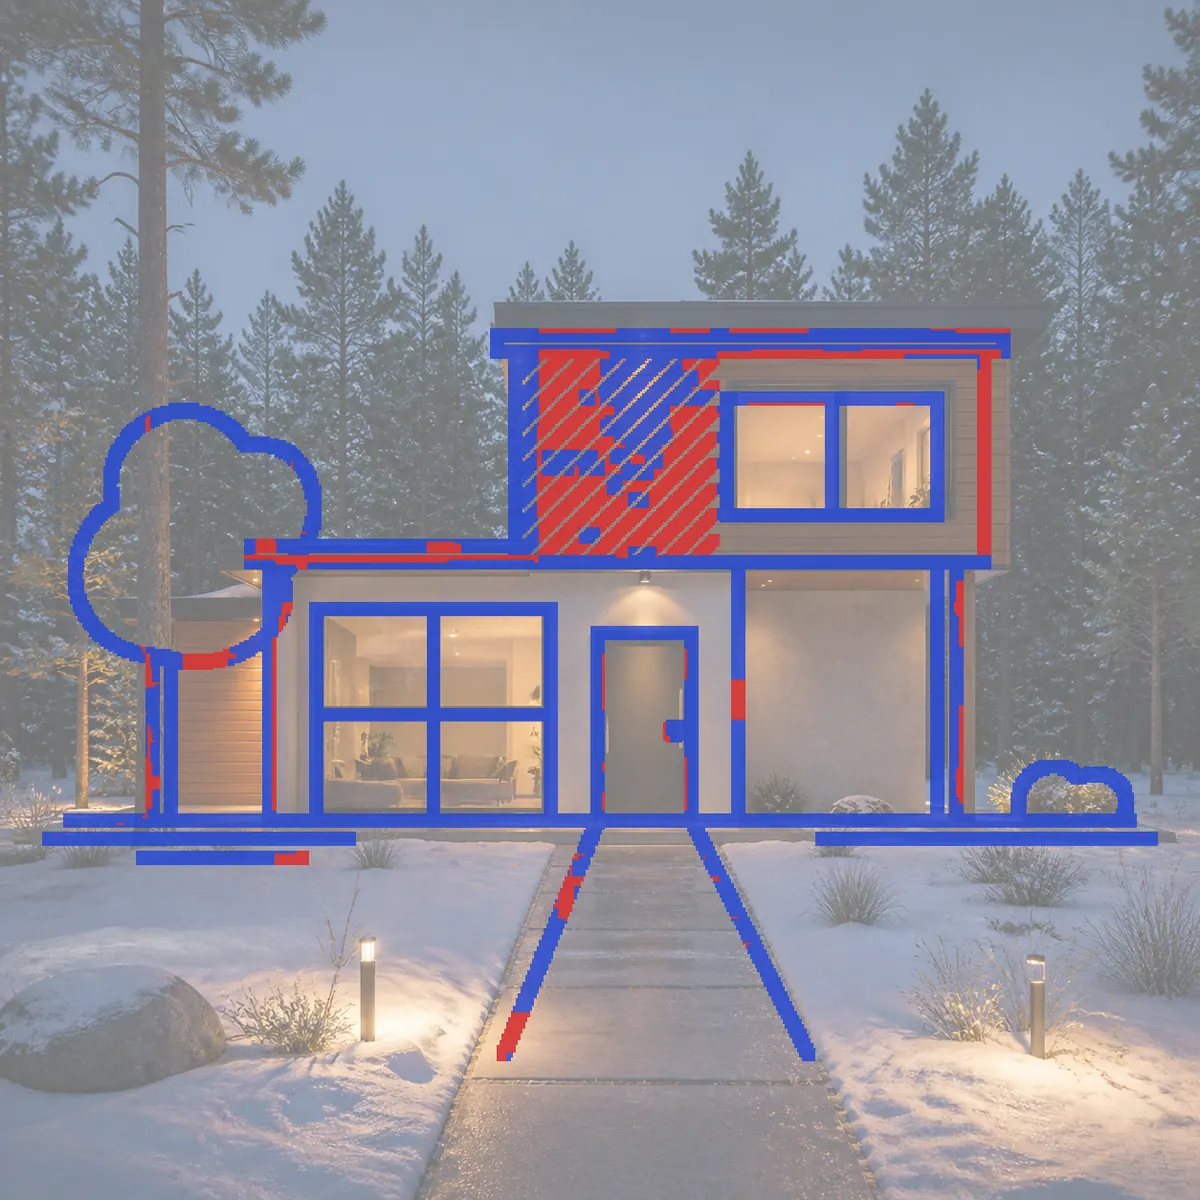
Every render from a sketch gets a line check: a score for how much of your sketch's linework the render kept, and an overlay you can turn on. Blue lines were kept; red lines were not found, often because they turned into shading or texture. Read the overlay, not just the number: shading and texture replace some pencil lines even when the design held.
What the animation shows
- The render fades back.
- The sketch's lines are drawn on top: most in blue, a few in red where the hatching became cladding.
- The line check reads “82% of your lines kept”, with a note that some lines became shading: the real score for this render.
5
Try another version
5 credits per render
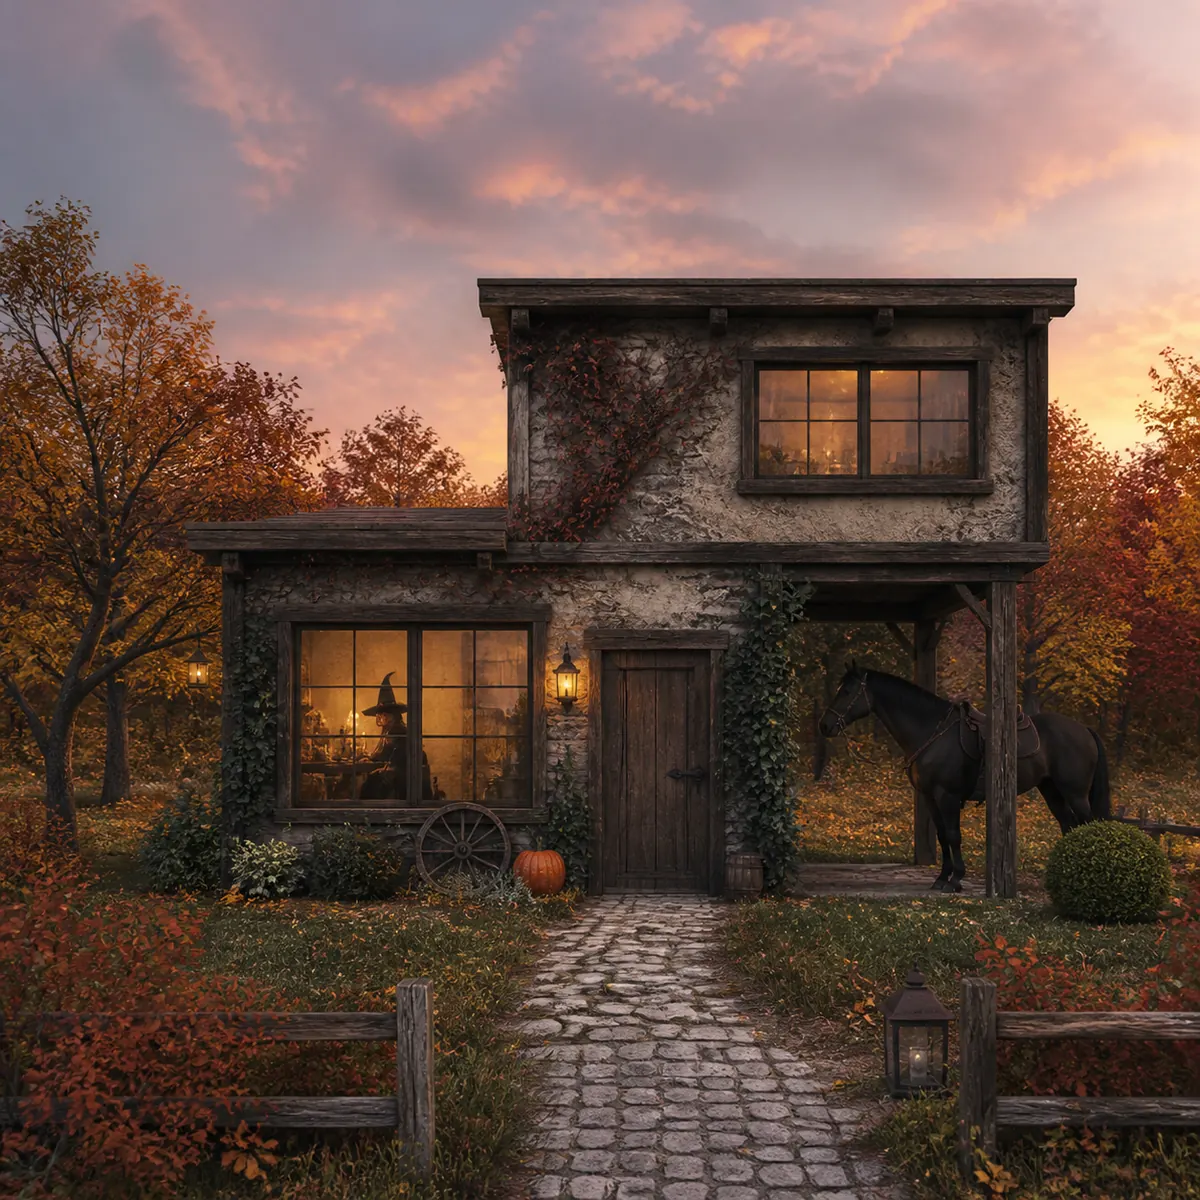
Send another message in the same design, such as “stone cottage at dusk”: it renders the same sketch, building on what you asked before. Every render and edit becomes a new version below the last, and nothing is overwritten.
What the animation shows
- The design shows version 1, the night render.
- A new description is rendered from the same sketch: a stone cottage at dusk appears as version 2.
- Version 1 is still there; selecting it brings it back.
6
Change just this
5 credits
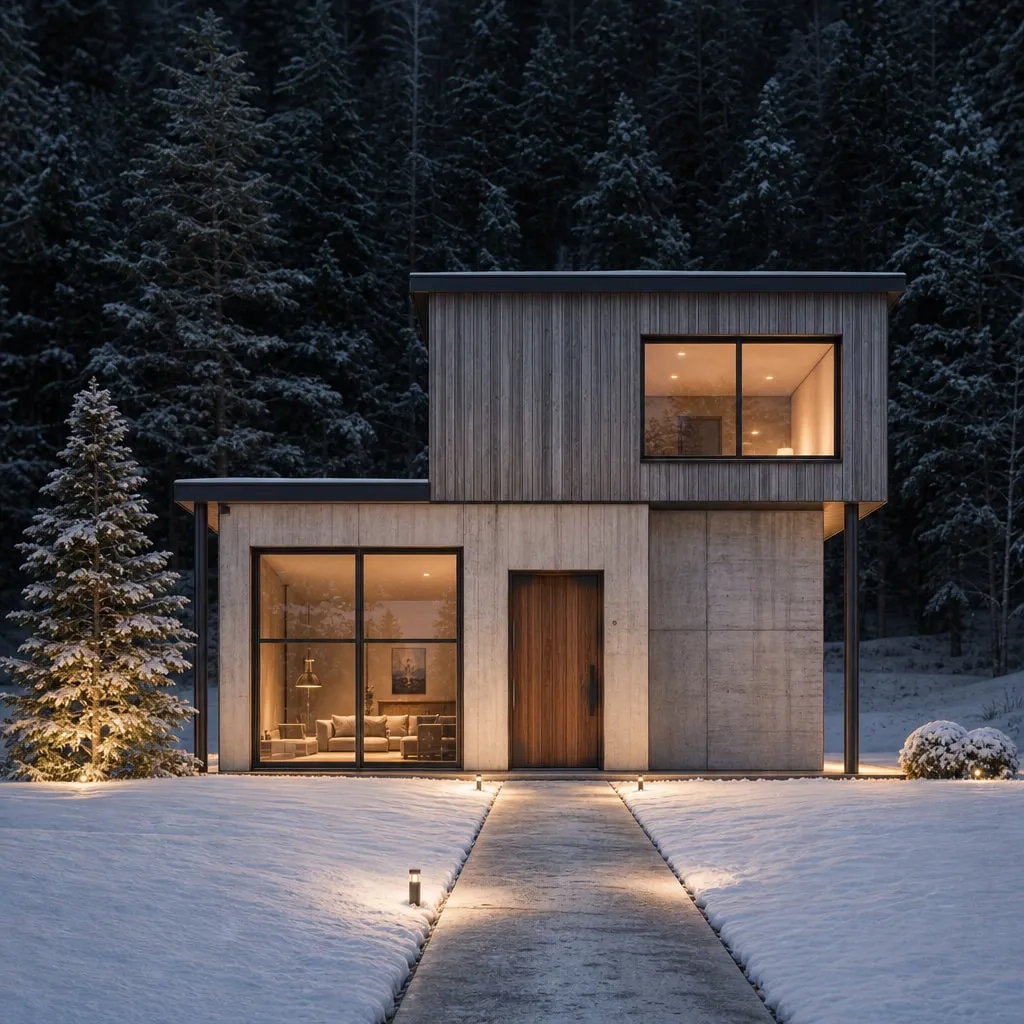
Mark the part of a render you want to change, then say what it should become, such as “a red oak front door”. Only the area around your marks is redrawn; the rest of the image stays as it was. To add something, a person or a tree, one mark where it should stand is enough: it is drawn whole, even past your mark.
What the animation shows
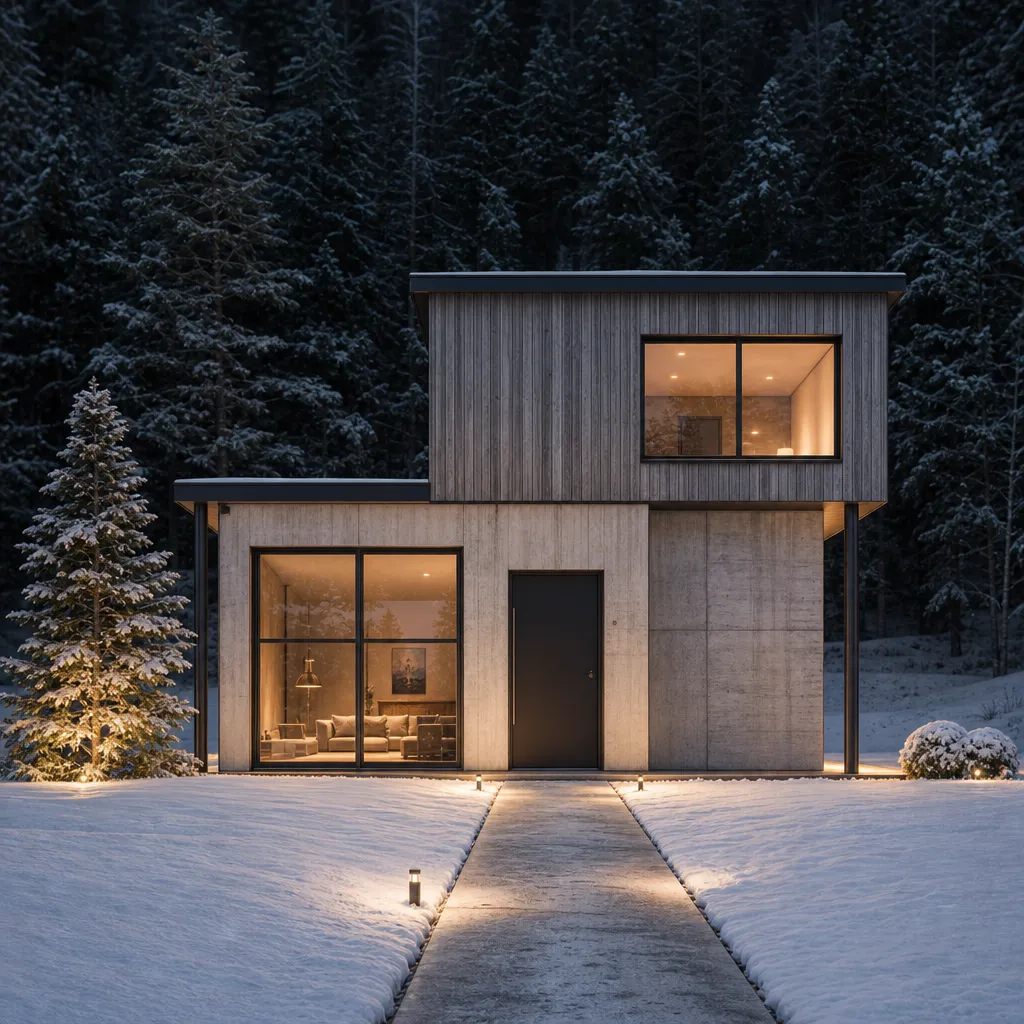
- A mark is drawn over the dark front door of a night render of the house.
- The field types “red oak front door”.
- The real edited version fades in: the door is now red oak, and an outline shows the only area that changed. Everything else stays as it was.
7
Crop & colour
Free
Crop, rotate in quarter turns, flip, and adjust brightness, contrast, saturation and warmth. Crop & colour uses no AI, costs nothing, and saves as a new version, so the original is kept.
What the animation shows
- Crop handles tighten the frame to a wide view.
- The warmth slider moves right and the image warms.
- Saved as a new version; the original is still in the strip.
8
Download or email it, and what is free
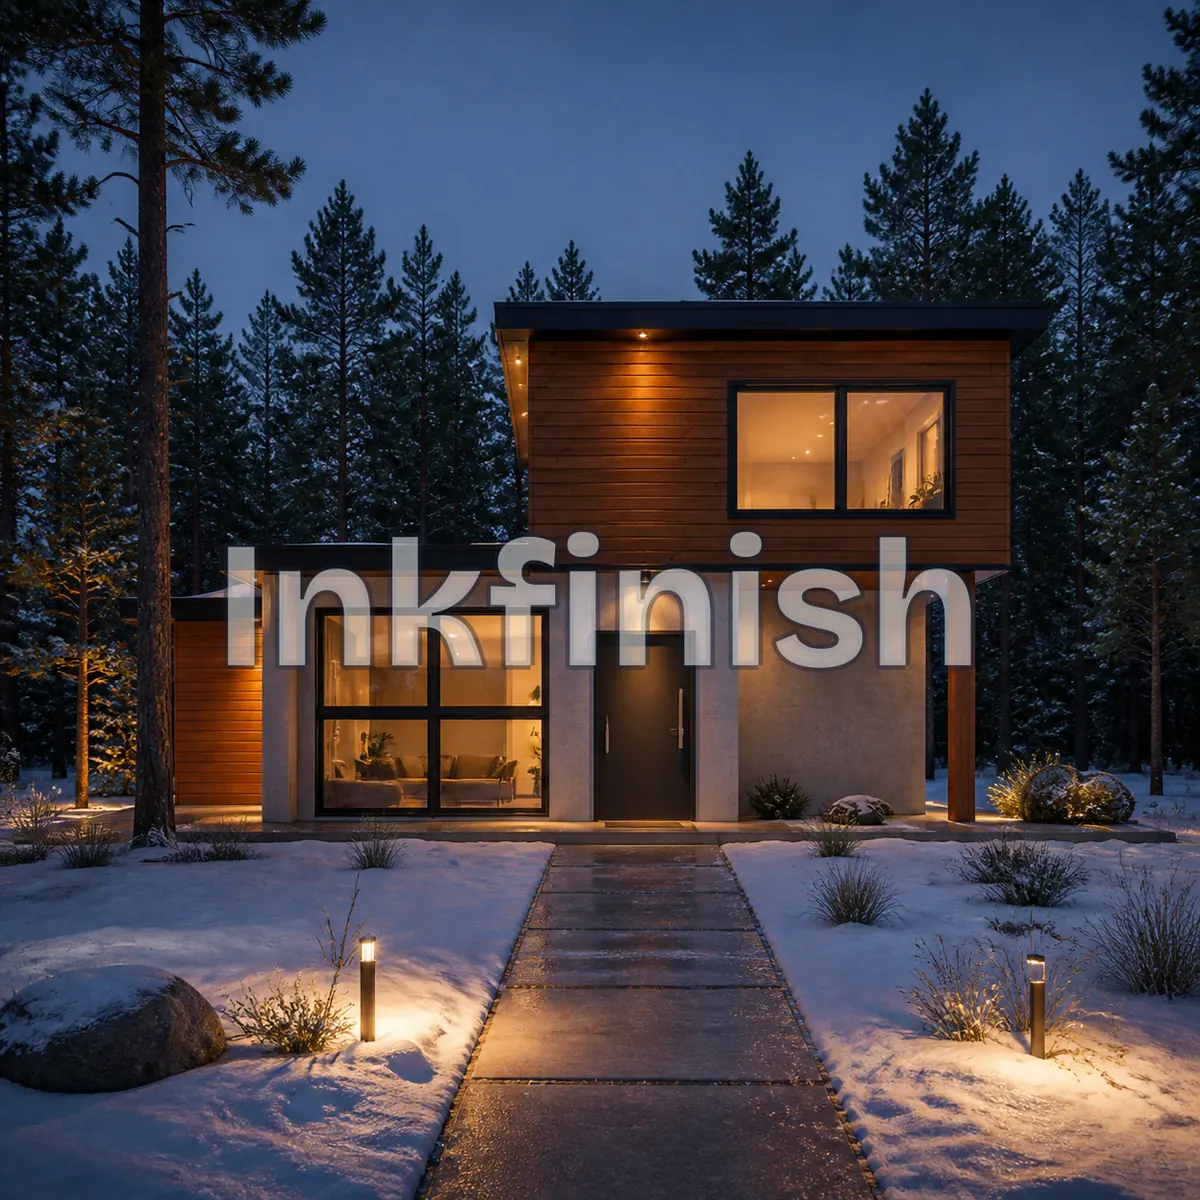
Download any version, or email the full-size image to yourself. Sign in with a Google account and your first 3 renders are free. Free renders carry a watermark; the Standard and Pro plans have none.
What the animation shows
- The download and email buttons are pressed in turn.
- A free render with the watermark is shown beside the same render without it.
- Free renders carry a watermark; Standard and Pro do not.
Try it on your own sketch
Sign in with a Google account and your first 3 renders are free. Free renders carry a watermark.